Is Mini Split Installation Worth It in 2026?
Mini split installation is one of the most effective ways to add efficient, zoned heating and cooling to your home — without tearing out walls for ductwork.
Here’s a quick overview of what’s involved:
- Mount the indoor air handler high on an interior or exterior wall
- Install the outdoor condenser on a level pad with 12-24 inches of clearance
- Drill a 3-inch hole through the wall for refrigerant lines, electrical wire, and the drain
- Connect the line set between indoor and outdoor units
- Complete electrical wiring on a dedicated 220V circuit
- Vacuum and pressure test the refrigerant lines (requires EPA 608 certification or a pre-charged line set)
- Power on and test both heating and cooling modes
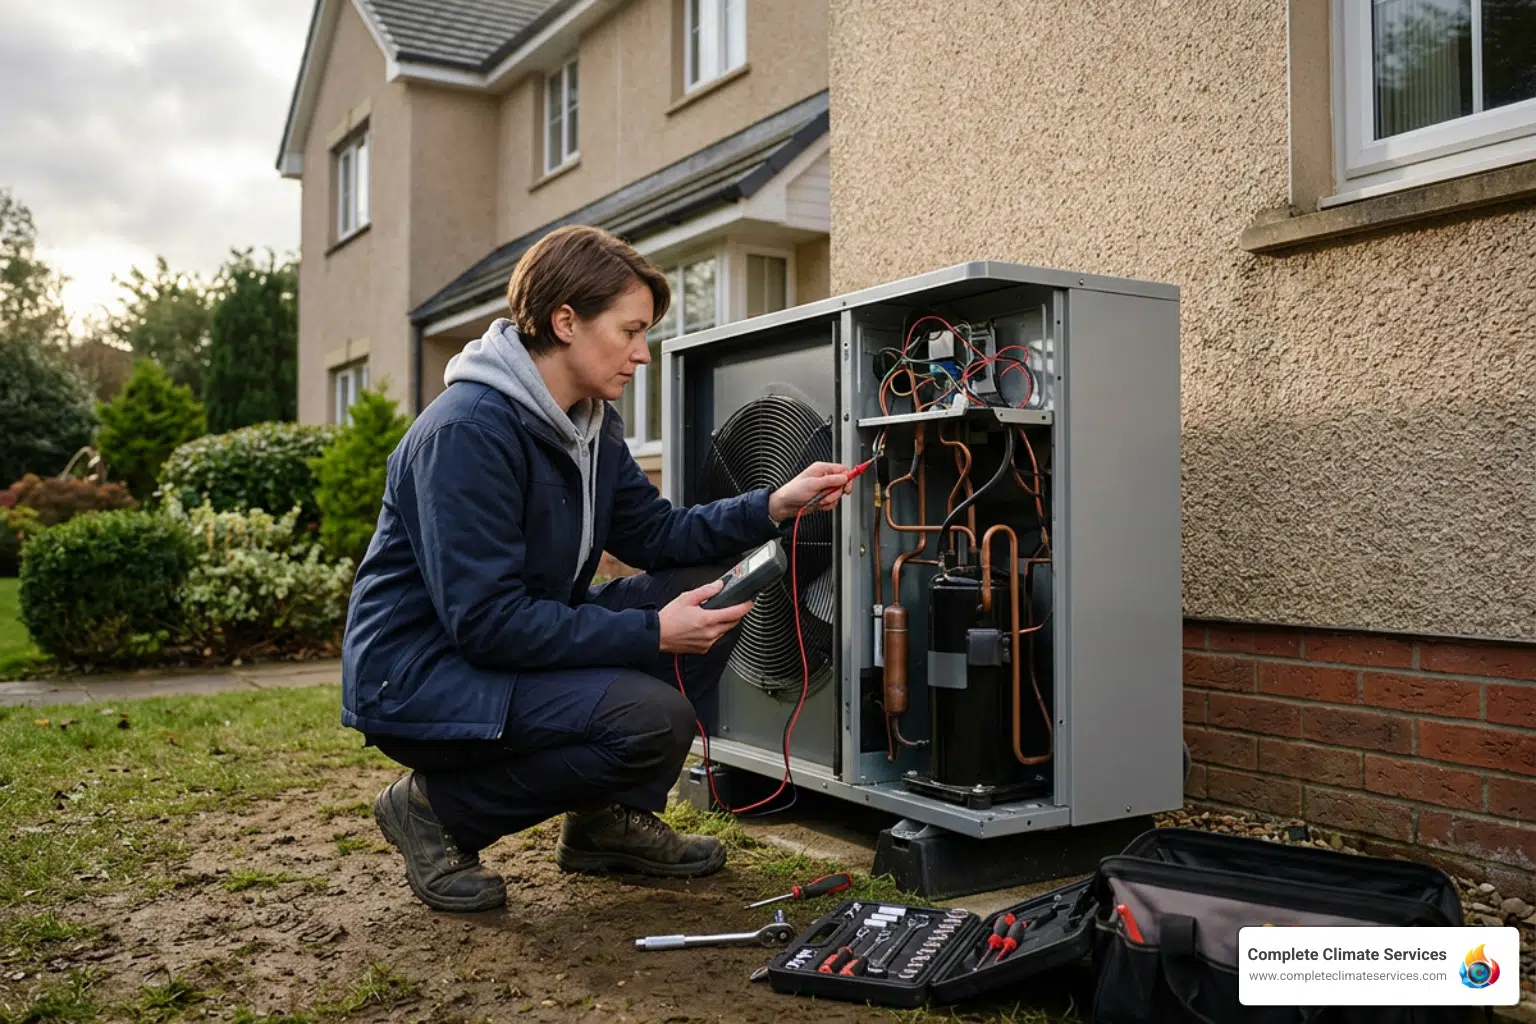
Most single-zone installs take a professional 4-8 hours. A confident DIYer using a pre-charged system can finish in a weekend. Costs in 2026 range from $2,000 to $10,500 depending on system size, number of zones, and whether you hire a pro.
Mini splits are popular right now for good reason. They eliminate duct losses (traditional systems can waste up to 25% of treated air through leaks), offer room-by-room temperature control, and carry SEER2 efficiency ratings as high as 42. For Baltimore homeowners dealing with hot summers and cold winters, that kind of flexibility — and those kinds of energy savings — matters a lot.
That said, installation isn’t as simple as it looks. Refrigerant handling, high-voltage electrical work, and proper vacuum sealing all carry real risks if done wrong. Getting it right the first time protects your investment and keeps your warranty intact.
I’m Michael Holcomb, Co-Founder and Operations Manager of Complete Climate Services, and I’ve overseen hundreds of mini split installations across the Baltimore area. In this guide, I’ll walk you through exactly what it takes to get it done safely and correctly.
Understanding the Basics of Mini Split Installation
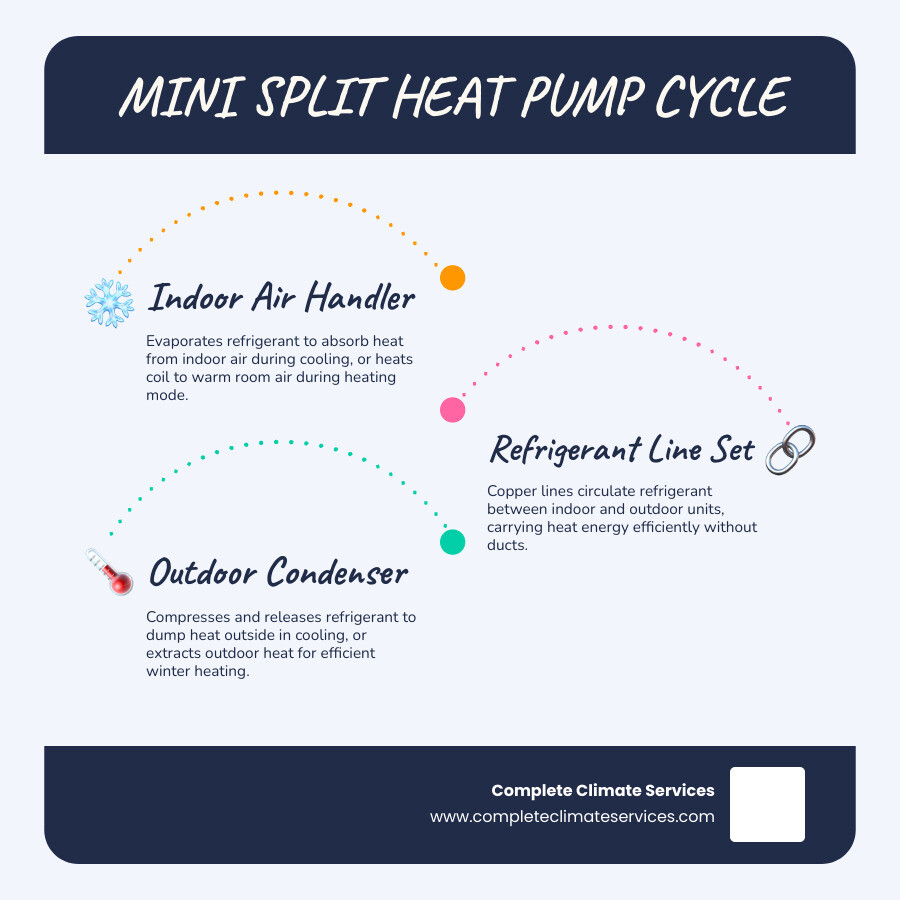
At its heart, a mini split is a “ductless” system. Unlike traditional central air that forces air through a maze of dusty metal channels, a mini split delivers comfort directly to the room where it is installed. It consists of two main components: the indoor air handler (the sleek unit on your wall) and the outdoor condenser (the “noisy” part that stays outside).
These two units are connected by a “line set,” which includes copper tubing for refrigerant, a power cable, and a condensate drain line. As of April 2026, the efficiency of these systems is measured by SEER2 (Seasonal Energy Efficiency Ratio 2). While the Department of Energy mandated a minimum SEER2 of 15 in 2023, many systems we install today range from 17 to 42. Higher ratings mean lower utility bills for you.
If you want a clearer picture of how a mini split works, take a look at this overview of heat pump mini-split systems. It also helps to understand why so many homeowners choose mini-split heating, especially since newer systems can still perform well during very cold Baltimore weather.
5 Essential Planning Changes for a Flawless Setup
Most mini split installation failures don’t happen while turning a wrench; they happen during the planning phase. If you want a system that lasts 20 years instead of 20 months, you need to change how you approach the preparation.
A lot of homeowners want to start by hanging the indoor unit, but the smarter move is to plan the setup first. That means measuring the space carefully, checking local Baltimore City or County code requirements, and making sure you have the specialized tools the job calls for. Before you cut into a wall, take a look at our mini-split setup guide to see whether your home is a strong fit for this kind of system.
1. Precise BTU Sizing and Selection
The biggest mistake you can make is “guesstimating” the size of the unit. In the HVAC world, bigger is not always better. An oversized unit will “short cycle,” turning on and off rapidly, which kills the compressor and leaves the room feeling clammy because it doesn’t run long enough to remove humidity.
A good rule of thumb is 20 BTUs per square foot. For example, a 600-square-foot garage would typically need a 12,000 BTU unit. However, you must adjust for:
- Insulation quality: Older homes in neighborhoods like Towson or Pikesville may need a bit more power if the walls aren’t well-insulated.
- Window exposure: A room with giant south-facing windows will heat up like a greenhouse and require more cooling capacity.
- Ceiling height: 12-foot ceilings represent more air volume than standard 8-foot ceilings.
Learning more about where mini splits work best in different rooms can help you plan smarter zoning throughout your home.
2. Strategic Location for Mini Split Installation
Location is everything. For the indoor unit, you want it at least 6 feet from the floor and with 5-10 inches of clearance from the ceiling to allow for proper airflow. It should be mounted on an exterior wall if possible, which makes routing the lines much simpler.
For the outdoor unit:
- Clearance: It needs 12-24 inches of open space on all sides. Don’t hide it behind thick bushes where it can’t “breathe.”
- Stability: Mount it on a level concrete pad or a heavy-duty wall bracket to prevent vibrations.
- Drainage: Ensure the condensate line (which carries water away) has a consistent downward slope of at least 1/4 inch per foot.
3. Dedicated Electrical Circuit Preparation
You cannot simply plug a mini split into a standard wall outlet. These systems require a dedicated circuit from your main breaker panel. While some smaller 9,000 BTU units run on 110V, the vast majority of systems require 220V/240V.
Most mini split systems need a dedicated electrical connection between the indoor and outdoor units, often using 14 AWG, 4-conductor stranded cable for power and communication. Just as important, the outdoor unit should have a weatherproof disconnect box nearby so power can be shut off quickly during maintenance or repairs. If you want to see whether a mini split can work alongside your existing setup, this guide on adding one to a home with ducted HVAC is a helpful next step.
4. Pre-charged Line Set Selection
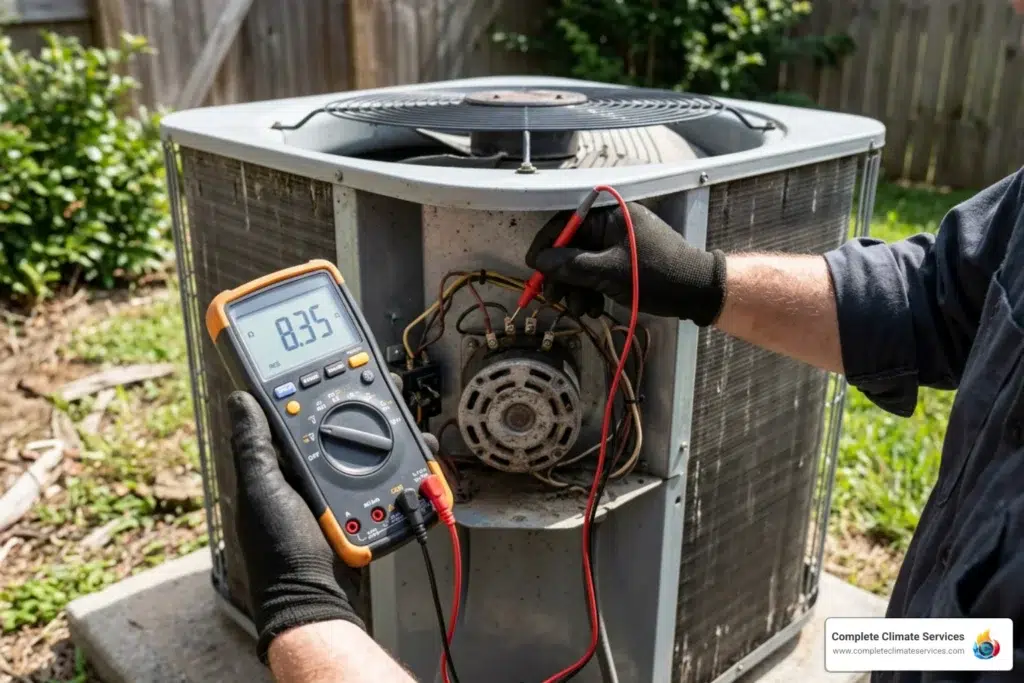
For the DIY-inclined, the invention of the pre-charged line set has been a game-changer. Standard copper tubing requires a professional to flare the ends, connect them, and then “charge” the system with refrigerant. This requires EPA 608 certification to do legally.
However, brands like MrCool offer factory-sealed, pre-charged lines. You simply click them together, and the refrigerant is released into the loop without the need for a vacuum pump. If you choose this route, make sure you don’t kink the copper tubing while bending it. Any sharp bend can restrict refrigerant flow and destroy the system. Always use a line set cover (often called “SpeediChannel”) to protect the lines from UV rays and Baltimore’s winter ice.
5. Professional Vacuum and Pressure Testing
If you are not using a pre-charged system, this step is non-negotiable. “Any moisture or air left inside your refrigerant lines is poison to your mini split,” as the saying goes. It creates acid that eats the compressor from the inside out.
A professional will:
- Pressure test with Nitrogen: This ensures there are zero leaks in your flare connections.
- Pull a vacuum: Using a vacuum pump and a micron gauge, they will pull the system down to below 500 microns.
- Decay test: They wait to see if the vacuum holds. If the numbers rise, you have a leak or moisture in the lines.
This process helps protect indoor air quality and keeps your system operating efficiently. For a closer look at how mini splits can support healthier air in your home, read this guide on air quality issues mini splits can help solve.
Step-by-Step Instructions for Your Ductless System
Once you’ve planned your changes, it’s time for the physical work. Here is the standard workflow we follow at Complete Climate Services:
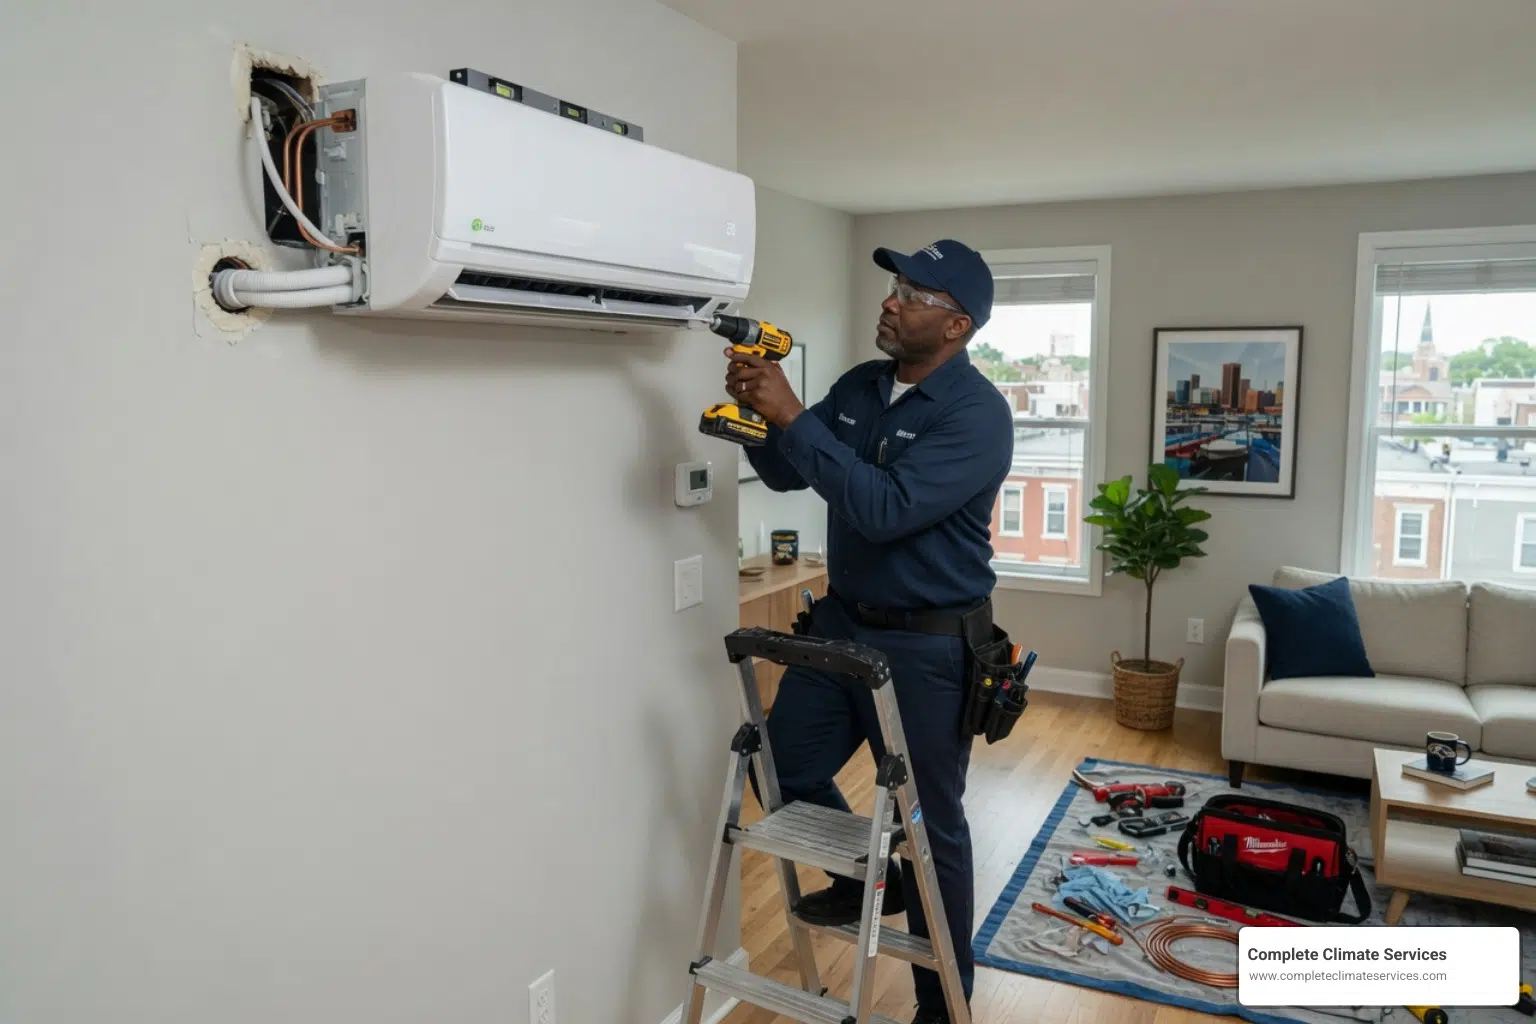
- Mount the Bracket: Use a stud finder and a level. If the indoor unit isn’t perfectly level, water will leak down your wallpaper instead of out the drain.
- Drill the Hole: Use a 3-inch hole saw. Drill at a slight downward angle (about 5-10 degrees) toward the outside. This allows gravity to pull the condensate water out.
- Feed the Lines: This is a two-person job. One person feeds the bundle (refrigerant lines, power cable, drain tube) through the hole while the other guides it from the outside.
- Secure the Outdoor Unit: Bolt the condenser to its pad or bracket using vibration pads to keep the unit whisper-quiet (usually 40-65 decibels).
- Connect and Seal: Use a torque wrench for the flare nuts. Over-tightening is just as bad as under-tightening. Seal the wall hole with spray foam or a wall sleeve to keep pests out.
Required Tools List:
- Vacuum pump and Micron gauge (for non-pre-charged units)
- Manifold gauge set
- Torque wrench
- 3-inch hole saw and heavy-duty drill
- Level and Stud finder
- Flaring tool (if not using pre-flared lines)
Avoiding Common Mistakes in Mini Split Installation
We get a lot of “rescue” calls in Catonsville and Ellicott City where a DIY project went south. The most common culprit? Kinked lines. Copper is soft, and if you try to make a 90-degree turn too quickly, the pipe collapses.
Another common problem is bad drainage. If the drain line dips, traps water, or rises before it exits, condensation can back up and leak from the indoor unit. And don’t skip the vacuum step. Some homeowners try to push air out with refrigerant, but that breaks EPA rules and usually leaves moisture and air behind. That can create performance issues later, including a mini split that struggles to keep your home warm in winter.
Evaluating the Costs and Risks of DIY vs. Professional Service
Is the “DIY savings” real? Let’s look at the numbers for 2026.
| Factor | DIY Installation | Professional Installation |
|---|---|---|
| Unit Cost | $1,000 – $3,000 | $1,500 – $4,000 |
| Labor Cost | $0 | $1,500 – $5,000 |
| Specialized Tools | $300 – $600 | Included |
| Permits | $50 – $200 | Included in Quote |
| Warranty | Often Parts Only | Full Labor + Parts |
| Time Investment | 10 – 16 Hours | 4 – 8 Hours |
DIY installation can sometimes cut labor costs by about $1,500 to $3,000, but it also means the risk is entirely on you. If refrigerant is released by mistake, the legal and environmental consequences can be serious. On top of that, many manufacturers require installation or startup verification from a licensed HVAC professional for full warranty protection. If you want a better sense of what professional help looks like locally, take a look at this guide to mini-split service in Baltimore.
Warranty Protection and Installation Timelines
A professional mini split installation typically takes one day for a single zone. Multi-zone systems (where one outdoor unit powers up to eight indoor units) can take two days. The real value of a pro, however, is the warranty registration.
Most manufacturers include a limited parts warranty and a longer compressor warranty, but the best coverage often depends on having the system installed and started up by a qualified professional. If that documentation is missing, a major repair could become an out-of-pocket expense much sooner than expected. For simple ways to protect your coverage, take a look at our guide to mini-split system care.
Frequently Asked Questions about Mini Split Installation
Can I install a mini split myself without EPA certification?
Technically, yes, but only if you use a pre-charged system where you never handle raw refrigerant. If you have to cut, flare, or charge the lines, you are legally required to have EPA 608 certification. Additionally, most local jurisdictions in Maryland require an electrical permit for the new 220V circuit.
How much does mini split installation cost in 2026?
In 2026, a professionally installed mini split system typically costs about $7,500 on average. Smaller single-zone systems can start around $2,000, while larger multi-zone or whole-home setups may climb to $17,000 depending on equipment, labor, and installation complexity. It is also smart to check for rebates or tax credits, since many high-efficiency SEER2 models may qualify and help lower your total cost. If you are looking at heating performance too, it is worth reading more about why mini splits work well in winter.
Will a DIY installation void my manufacturer warranty?
Often, it can. Some mini split systems are marketed as DIY-friendly, but many manufacturers still require a licensed HVAC pro to handle startup or final commissioning. That step helps document things like voltage readings, pressure, and vacuum levels so the system is proven to be installed correctly. If you want a better sense of long-term reliability, it helps to look at how well mini-split heating systems perform. In short: a mini split can work extremely well, but poor installation may put both performance and warranty coverage at risk.
Conclusion
A mini split installation is a brilliant investment in your home’s comfort and value. Whether you’re reclaiming a hot attic in Columbia or adding a home office in Dundalk, these systems provide whisper-quiet, energy-efficient climate control that window units simply can’t match.
While the DIY path is more accessible than ever thanks to pre-charged line sets, the complexity of electrical work and the high stakes of refrigerant handling mean that professional help is often the safer, more economical choice in the long run.
At Complete Climate Services, we bring over 20 years of honest, reliable expertise to every job. We serve the entire Baltimore region, from Owings Mills to Glen Burnie, ensuring your system is sized correctly, installed safely, and backed by a rock-solid warranty.
Ready to upgrade your comfort? Learn more about our mini split services, or give us a call to schedule your home evaluation today!