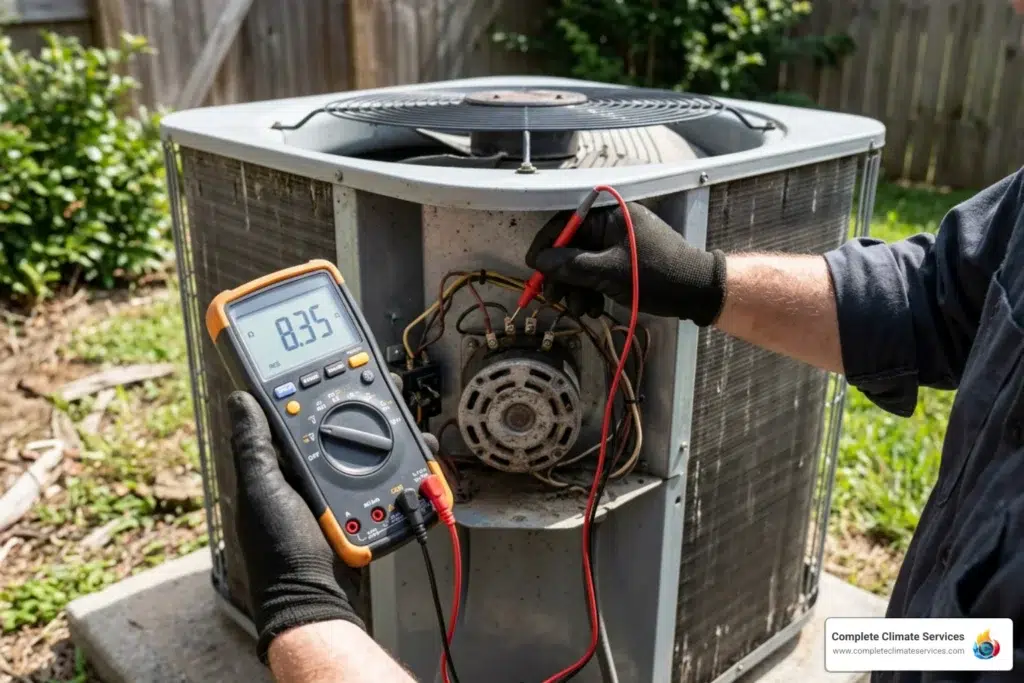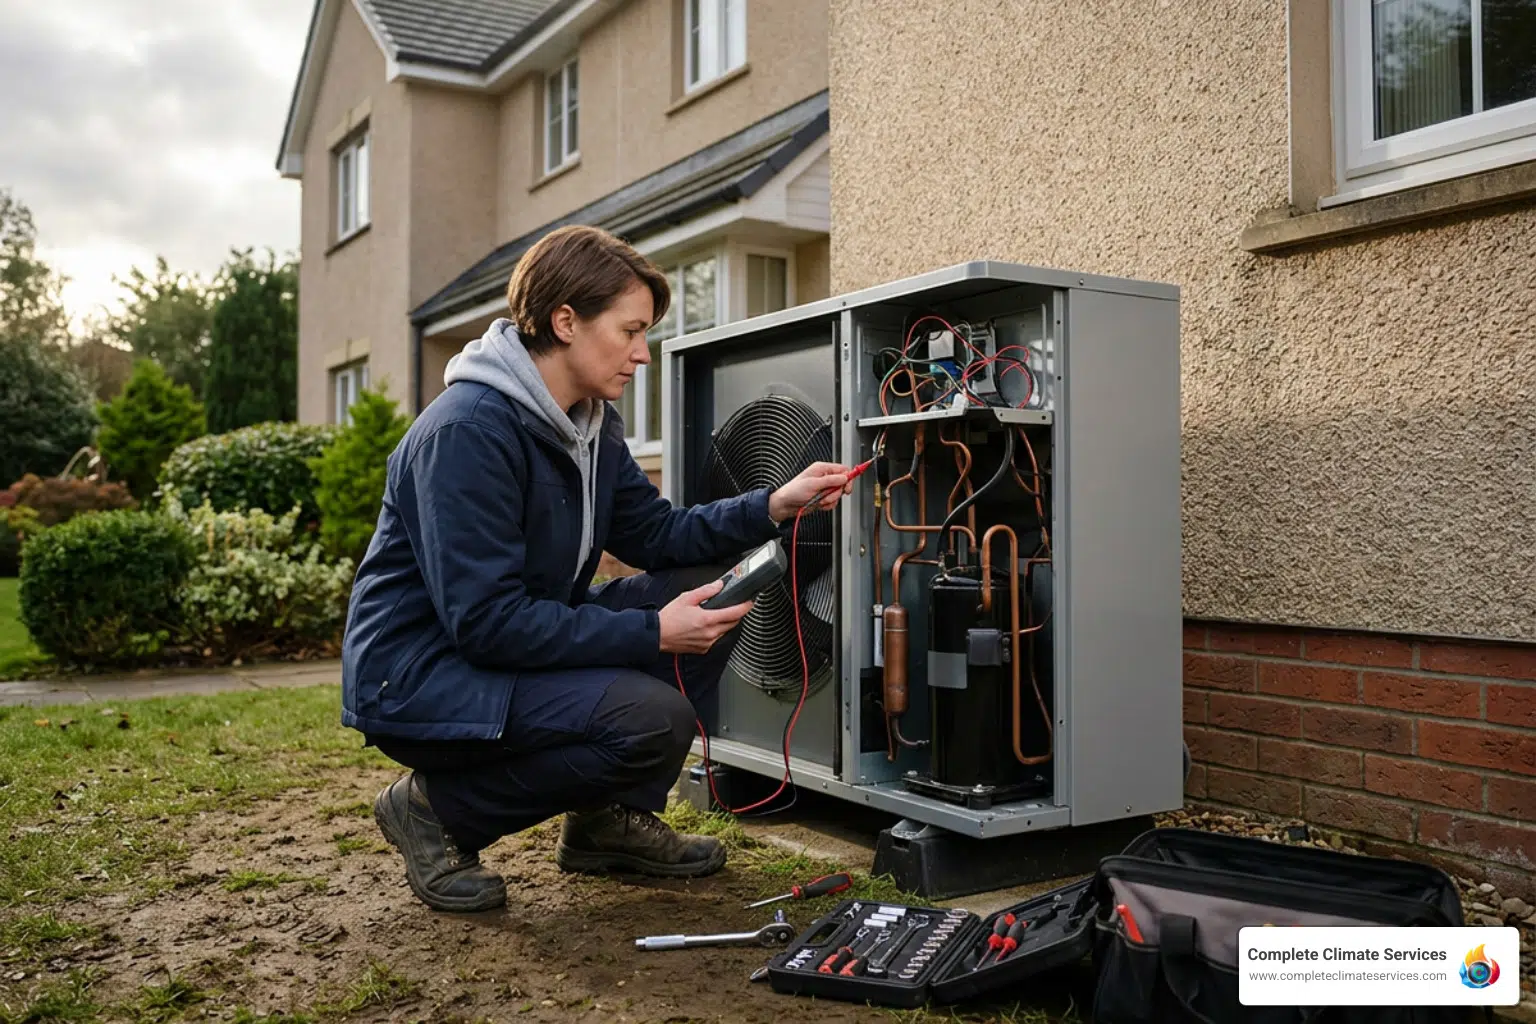
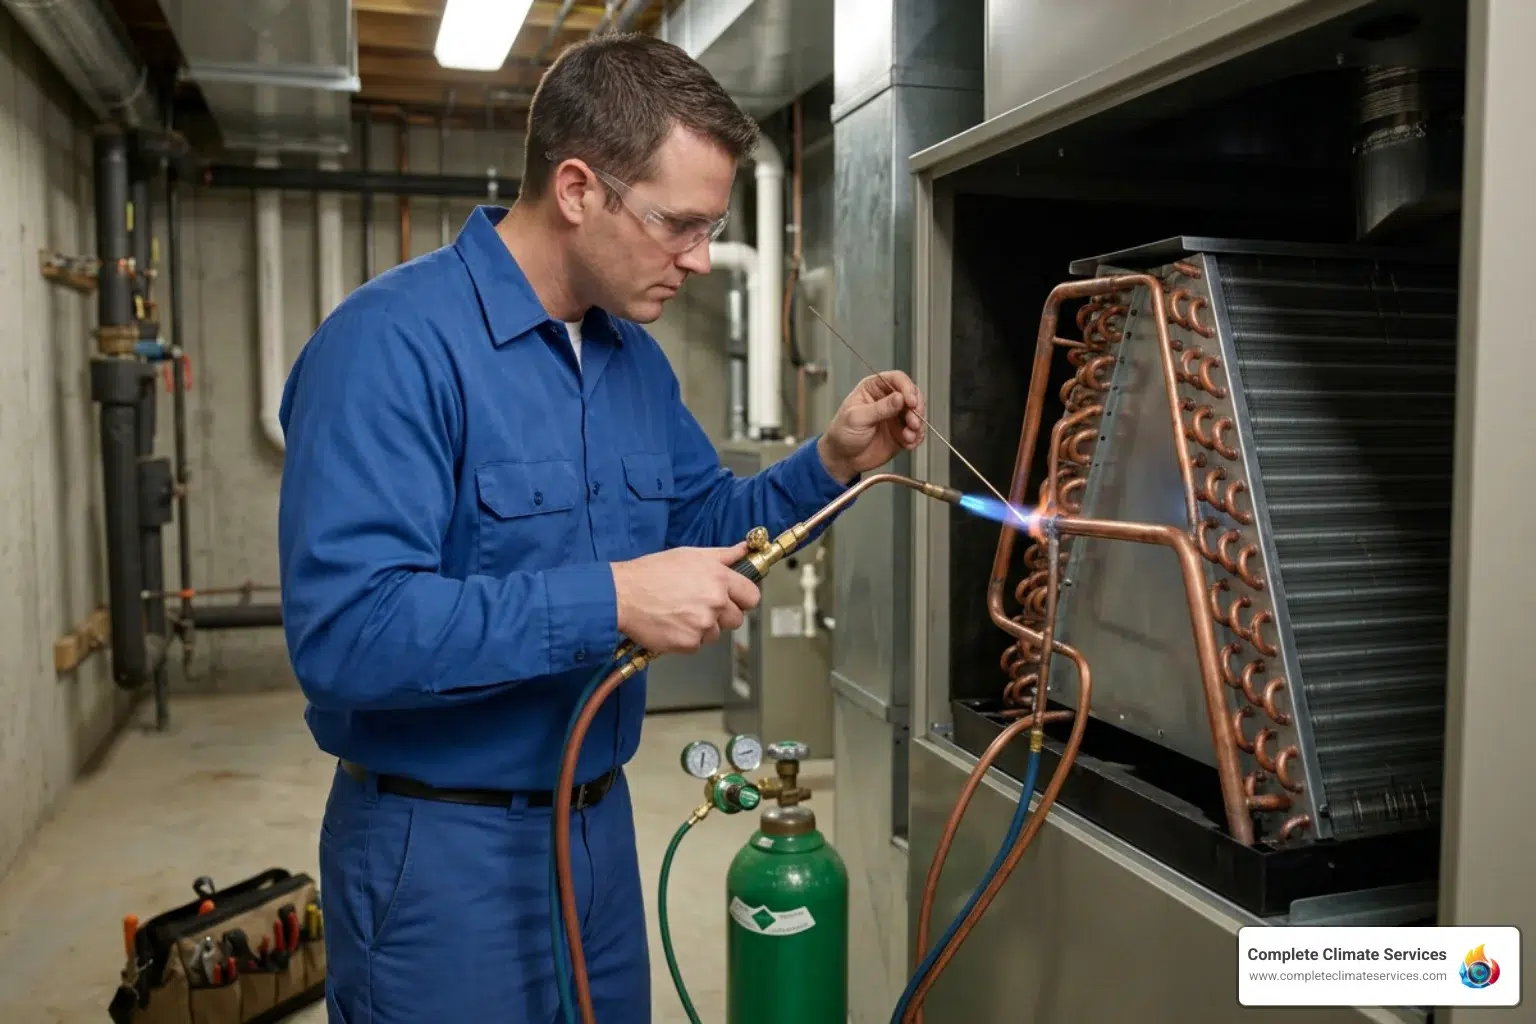
When refrigerant leaks out of your indoor cooling system, the whole AC struggles to move heat out of your home. You will likely notice longer cooling cycles, warm air at the vents, and higher monthly utility bills. If you notice your AC is blowing warm air, the evaporator coil may be low on refrigerant due to an undetected leak.
Identifying the Warning Signs of a Refrigerant Leak
Catching a leak early helps prevent severe system damage. Keep an eye out for these distinct indicators:
- Hissing or Bubbling Sounds: A high-pressure refrigerant escape often produces an audible hissing sound near the indoor air handler.
- Sweet or Chemical Odors: Refrigerant emits a distinct chemical smell, which can travel through your ductwork when a leak develops.
- Ice Accumulation: Low refrigerant levels cause operating pressures and temperatures inside the coil to drop below freezing. Moisture on the fins freezes into an ice block, completely blocking airflow.
- Spiking Electric Bills: Because the system works longer hours trying to hit your thermostat setting, energy consumption surges.
Formicary Corrosion, Vibration, and System Age
Why do these leaks occur? While mechanical damage can happen, three main drivers cause most failures:
- Formicary Corrosion: This is the primary culprit in residential coils. When indoor Volatile Organic Compounds (VOCs)—found in household cleaners, paints, air fresheners, and cosmetics—combine with humidity on the indoor coil, they form mild acids. These acids etch microscopic, ant-nest-like tunnels through copper tubing until pinholes form.
- Vibration and Thermal Stress: As the blower motor runs and copper tubes expand and contract during daily operations, lines can rub against cabinet frames or steel end-plates. Over time, friction wears down the outer metal wall.
- Age and Degraded Metal: Coils wear thin over years of continuous operation. In aging coils, metal thickness breaks down from the inside out, making patch repairs extremely difficult and reducing the chances that a small patch will hold long-term.
Step-by-Step Methods for Fixing Evaporator Coil Leaks
Attempting to repair an indoor coil requires strict adherence to EPA Section 608 guidelines. Refrigerant must never be vented into the atmosphere; it must be safely recovered using professional recovery equipment before opening the closed loop. If you are experiencing cooling failures, scheduling professional AC repair guarantees safe chemical handling and code compliance.
Essential Tools and Materials for Fixing Evaporator Coil Leaks
A technician needs several specialized tools to complete a lasting repair:
- Dry Nitrogen Cylinder & Regulator: Used to sweep lines clean, maintain a protective inert shield during heating, and perform high-pressure testing.
- MAPP Gas or Propane Torch: Standard oxy-acetylene setups burn too hot for ultra-thin aluminum or aged copper walls. A MAPP gas torch provides controlled, safe heat application.
- Flux-Cored Alloys: High-grade filler material like AL-822 (which melts around 900°F) allows for low-temperature aluminum repairs without melting the base metal.
- Stainless Steel Wire Brush: Used strictly to scrub away oxidation layers prior to heating.
- Micron Gauge & Vacuum Pump: Essential for removing all moisture and non-condensables down to a deep vacuum.
Pressure Testing and Evacuation After Fixing Evaporator Coil Leaks
Once a technician seals the pinhole or joint, the process follows a strict protocol:
- Nitrogen Pressure Test: The sealed coil is pressurized with dry nitrogen to at least 250 PSI (and often up to 150+ PSI on delicate aluminum assemblies) to verify joint strength and check for secondary leaks.
- Liquid Line Filter Drier Replacement: Any time the system is opened to atmospheric air, the filter drier must be replaced to prevent internal moisture contamination.
- Deep Evacuation: A heavy-duty vacuum pump pulls the system down below 500 microns. Holding this level confirms that no hidden leaks or moisture remain.
Brazing, Soldering, and Sealants: Choosing the Right Repair Technique
Not all repair techniques offer equal strength. The table below outlines how common methods compare in HVAC applications:
| Method | Temperature Required | Structural Strength | Longevity | Best Used For |
|---|---|---|---|---|
| Brazing (Sil-Fos / AL-822) | High (900°F – 1,300°F) | Excellent (Exceeds 18,000 PSI) | Permanent | Structural copper/aluminum joint repairs |
| Soldering (Stay-Brite 8) | Moderate (~430°F – 500°F) | Good | Moderate to High | Low-stress joint seams |
| Chemical Stop-Leak | N/A (Chemical Additive) | Low | Temporary | Emergency stopgap on micro-pinholes |
Brazing vs. Soldering for Copper and Aluminum Coils
Brazing relies on capillary action to draw molten filler alloy into the joint gap. On older copper coils, applying brazing heat can sometimes compromise adjacent joints or blow holes through paper-thin copper walls. For aluminum coils, technicians use specialized rods like AL-822. Because aluminum melts around 1,220°F, using a low-temp 900°F alloy leaves a crucial 300°F safety buffer that prevents the coil from melting into a puddle.
Homeowners often ask why an AC technician cannot simply solder a leaking joint. The answer usually comes down to wall thickness. When metal has been weakened by internal corrosion, adding torch heat can open nearby pinholes and turn a minor repair into a larger structural failure.
The Dangers and Limitations of AC Stop-Leak Sealants
Chemical sealants are designed to react with atmospheric moisture or temperature/pressure changes to bridge tiny cracks. However, injecting these chemical additives into your AC comes with notable risks:
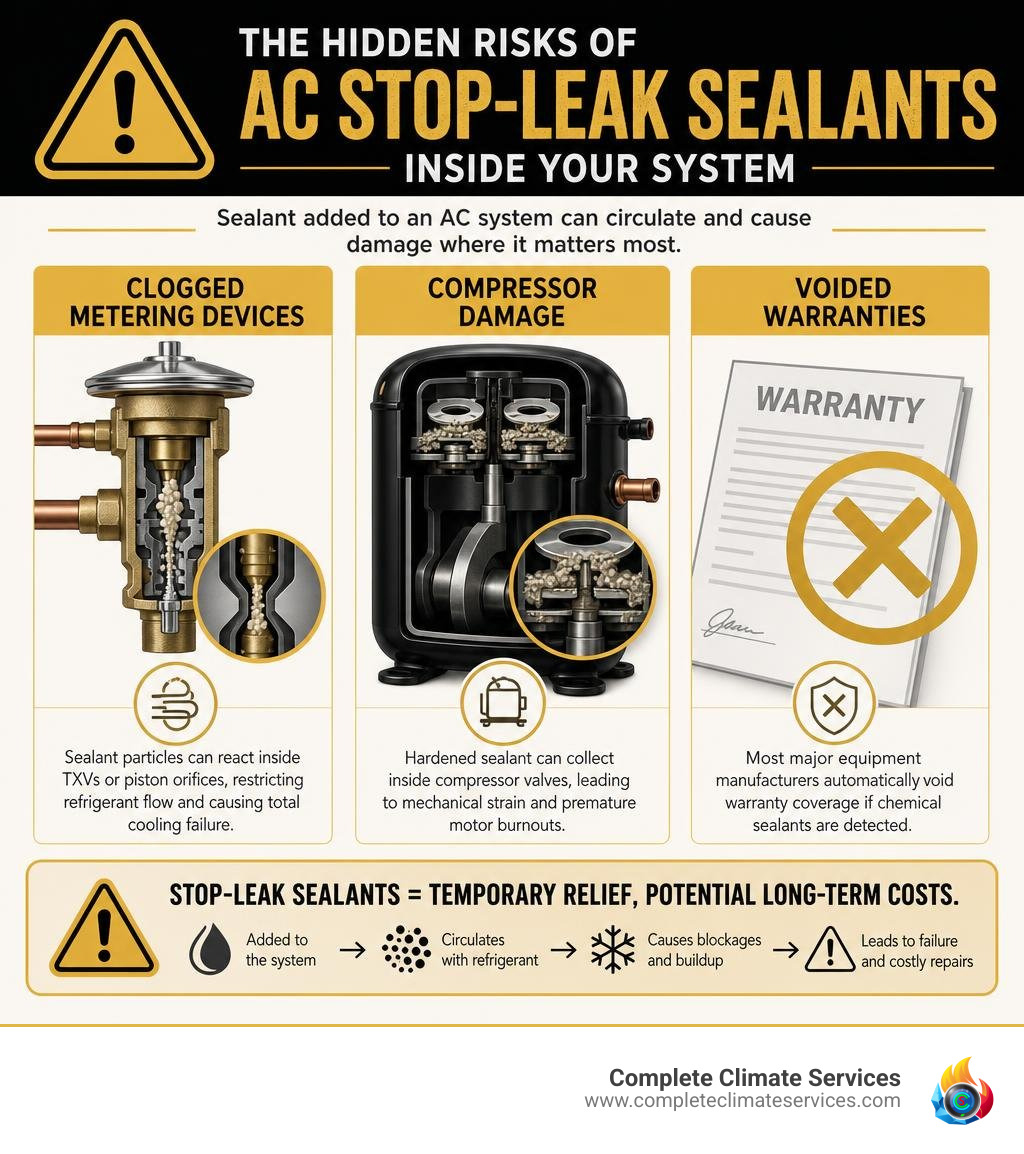
- Clogged Metering Devices: Sealant particles can react inside Thermostatic Expansion Valves (TXVs) or piston orifices, restricting refrigerant flow and causing total cooling failure.
- Compressor Damage: Hardened sealant can collect inside compressor valves, leading to mechanical strain and premature motor burnouts.
- Voided Warranties: Most major equipment manufacturers automatically void warranty coverage if chemical sealants are detected in the system.
Before considering chemical additives, remember that AC stop-leak products are usually only a temporary measure for very small pinholes. They can fail to hold under normal system pressure and may lead to more expensive secondary repairs if the sealant affects internal components.
Repair vs. Replacement: Cost Analysis and Long-Term Economics
When deciding between repairing or replacing a faulty coil, financial numbers and equipment age offer clear guidance:
- Minor Leak Repair: $300 to $800 (covers surface prep, torch repair, and pressure testing).
- Refrigerant Recharge: $200 to $600 (varies based on whether your system uses R-410A or older R-22).
- Full Coil Replacement: $1,200 to $2,500 for out-of-warranty systems.
- Warranty Coil Replacement: $400 to $800 (covers labor, recovery, and refrigerant, with the part covered by the manufacturer).
If you need a professional evaluation of your equipment, our team provides comprehensive AC services to help you evaluate all your options.
When to Repair vs. Replace the Evaporator Coil
The decision generally hinges on the 10-year rule:
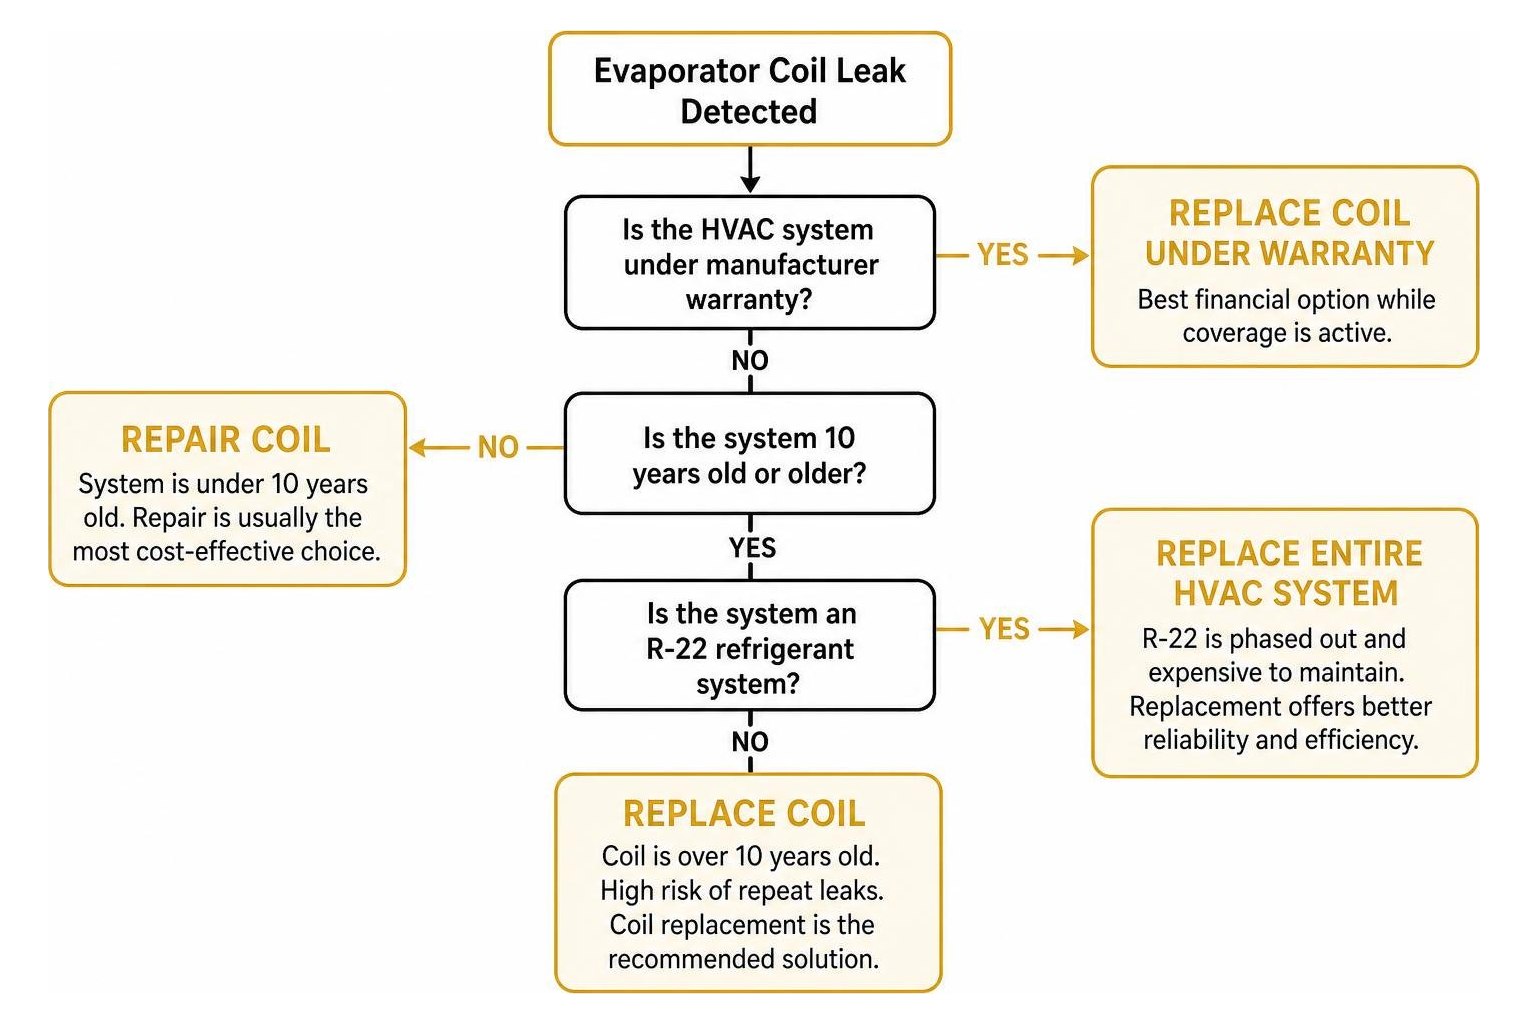
- Coils Under 10 Years Old: If the unit is covered by a manufacturer warranty, replacing the coil under warranty coverage is almost always the smartest financial move.
- Coils Over 10 Years Old: Field statistics show that for coils older than 10 years, attempting to braze a single corrosion hole results in secondary leaks appearing within 1 to 2 weeks nearly 100% of the time. The surrounding metal is simply too thin to hold up.
- R-22 Systems: Because R-22 refrigerant has been phased out, topping off an older system costs anywhere from $75 to $150 per pound. Sinking thousands into an aging R-22 system is rarely worth the investment compared to installing a modern, efficient system.
Preventive Care to Stop Future Coil Failures
You can protect your evaporator coil from premature corrosion by keeping up with simple maintenance tasks:
- Change Filters Regularly: Replace standard 1-inch furnace filters monthly during heavy summer use. Clean filters maintain high airflow, which keeps the coil dry and reduces acidic condensation buildup.
- Minimize Indoor VOCs: Avoid spraying aerosol cleaners, air fresheners, paints, or synthetic adhesives directly near your indoor return vents.
- Ventilate Your Home: Open windows periodically when using household cleaners to allow chemical vapors to escape.
- Schedule Annual Inspections: Professional cleaning removes dust, biological growth, and grime before they eat into copper or aluminum lines. Use our ultimate AC maintenance checklist to keep your system operating efficiently season after season.
Frequently Asked Questions about Evaporator Coil Leaks
Can an evaporator coil leak be repaired, or does it always need replacement?
It can be repaired if the leak is isolated to a single point caused by vibration rubbing or an installation puncture. However, if the leak is caused by widespread formicary corrosion, repairing one hole will not stop nearby pinholes from developing shortly after. Understanding the risks of attempting DIY repairs helps highlight why specialized diagnostic equipment is necessary to evaluate the coil’s overall structural condition.
How much does professional evaporator coil leak repair cost?
A basic repair on an accessible joint usually costs between $300 and $800 for labor, plus $200 to $600 for refrigerant recharging. If the entire coil needs to be replaced out of warranty, total costs generally range from $1,200 to $2,500 depending on the tonnage and unit design.
Why do chemical stop-leak products fail on evaporator coils?
AC stop-leak products react with atmospheric moisture and pressure drops to form hard seals. Because residential systems operate under high pressures, these sealants often break down over time. Furthermore, the sealant can harden inside delicate internal metering orifices or compressor valves, leading to total system lockups.
Conclusion
A leaking evaporator coil compromises your indoor comfort, increases energy costs, and puts your compressor at risk. While small, localized friction leaks can occasionally be repaired with low-temperature brazing techniques, corrosion on aging units usually requires replacing the coil or upgrading the entire indoor system.
If your air conditioner is blowing warm air, forming ice, or making unusual hissing noises, reach out to our team at Complete Climate Services. We deliver honest assessments, transparent pricing, and expert repairs across the Baltimore area to keep your home cool and comfortable. Contact us today for professional AC services and let our experienced technicians take care of your cooling system.